In the previous post I talked about retention policies and how you can apply them to your environment. To keep things simple, I used static scopes in that article. But since adaptive scopes are the recommended approach for retention policies I want to show you what they can do, and why Microsoft recommends them to be used instead of static scopes.
An adaptive scope is a scope that is dynamically filled based on a query. With that in the back of our mind, let’s start with the following scheme:

In this example, I’ve created 3 SharePoint sites. There’s also a naming convention that states that all project teamsites names should start with “PROJ”. Now we are going to create an adaptive policy scope that should find all of our sites.
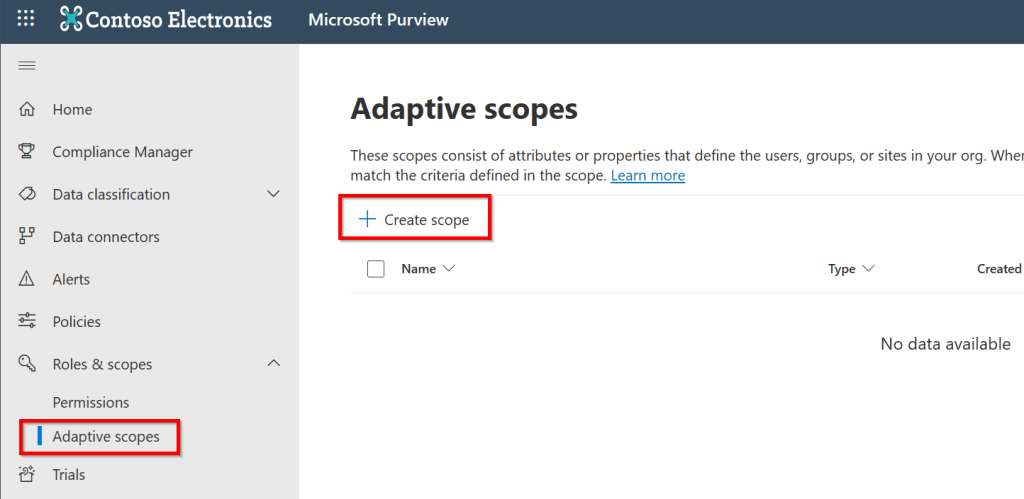
As adaptive scopes can be used in retention policies and communication compliance policies, they can be found under “Roles & Scopes”, “Adaptive Scopes” in the Microsoft Purview portal. Click “Create Scope” to create a new adaptive scope.

Now, give the adaptive policy scope a logical name and description and click “Next”. In the following screen admin units can be selected. However, to keep things simple we’re going with “Full Directory”. If you would like to know more about admin units, take a look at my article about Data Lifecycle Management.
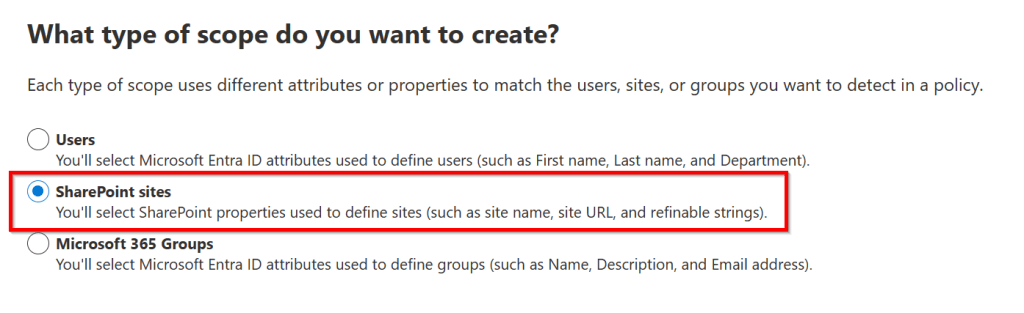
As an adaptive policy scope “groups” objects together based on a query, we have to specify which objects we want to group. This can be users, SharePoint sites or Microsoft 365 groups. If you want to know what type of attributes or properties you can query, take a look at this Learn article. In this example, I choose “SharePoint sites”.
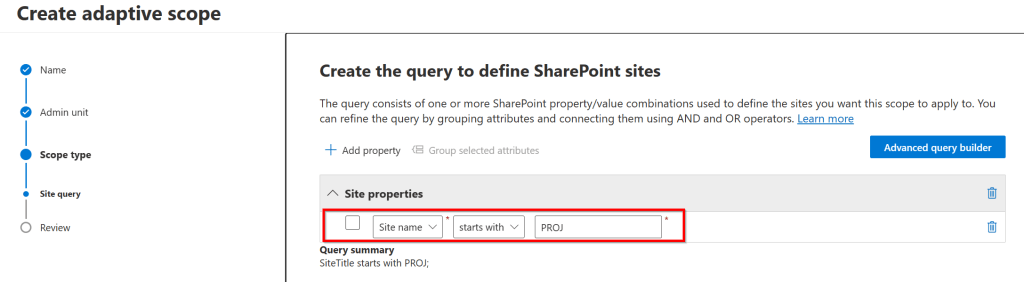
Now for the query page. This is where the real magic happens. Here it is possible to enter the query or queries that contain the logic on which objects are selected to be part of the adaptive scope. As explained in the drawing above, we want to select all SharePoint sites that have a site name that starts with “PROJ”. Review the summary and finish the wizard.
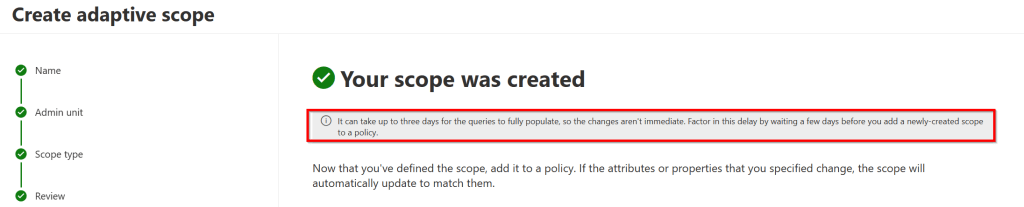
Now take note of the message that appears. It can take up to 3 days for the queries to fully populate, so keep that in mind when using your adaptive scope in a policy. When checking back a couple of days later, the following procedure can be followed to see whether our adaptive scope has queried our environment successfully:
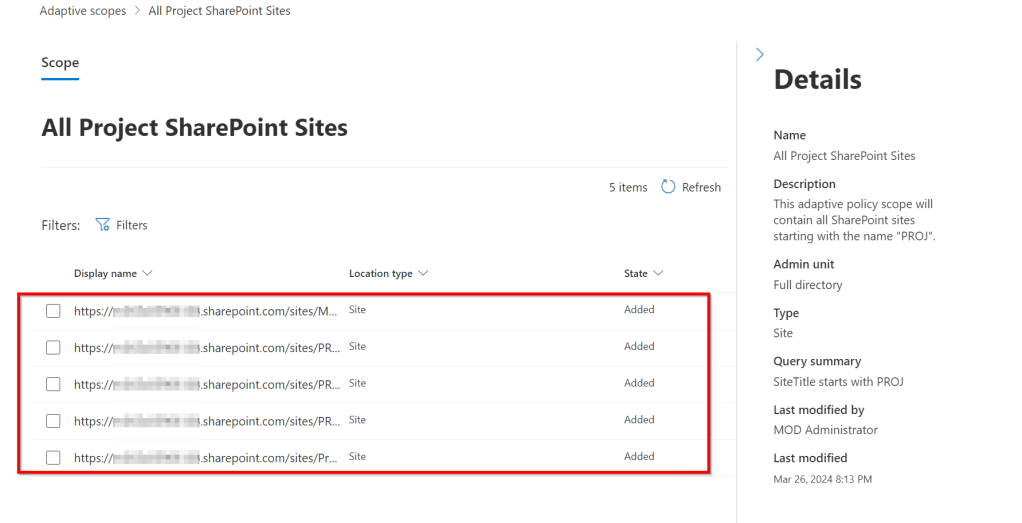
- Navigate to “Roles & Scopes”, “Adaptive Scopes” in the Microsoft Purview portal
- Click on the created adaptive scope.
- Select “Scope Details” on the bottom of the screen.
- You should see all objects that are now a “member” of your adaptive scope.
And now for the cool part, adaptive scopes are re-evaluated on a daily basis, so if you should create more SharePoint sites for projects like in this example (starting with “PROJ”), they are added to your retention policy within a day. The nice thing about this is that there’s no manual action needed to add the new SharePoint site to your retention policy. This adds to the reliability of your retention policies. This is exactly why it’s recommended to use adaptive scopes instead of static scopes. In the case of static scopes, the retention policy would have to be edited every time a new SharePoint site was added, for example.
Of course, this was just 1 example. With the flexibility that adaptive scopes provide, numerous options are possible!
Now you can use your adaptive scope in a retention policy. You can combine this article with my previous article on Data Lifecycle Management to create retention policies based on an adaptive scope!
See you next time!

2 thoughts on “Microsoft Purview 101: Using Adaptive Scopes”