One of the most distinct features of Purview is of course sensitivity labeling, which is part of the information protection section in the Purview portal. Before we head off to configuring sensitivity labeling and dive into what it looks like from a users perspective, let’s first talk about what sensitivity labels are.
Introduction
You can think of a sensitivity label like a stamp, which you can apply to content like documents, email and meetings. The cool thing is that the sensitivity label is added in clear text to the metadata of the files, so it travels together with the content (hence the reference to the stamp 😉). Because it’s stored in clear text, applications and services can use the sensitivity label to apply logic to it. Examples of this logic is adding a watermark to a document, protecting content from being openend by unauthorized people or content being protected from being sent outside your organization. This protection part can be done by Microsoft 365 or a third-party application. But a sensitivity label by itself can inform users of the sensitivity level of a certain item.
There are various automatic methods of applying labels to your content, but for this article we’ll focus on manually adding labels to content so we understand how the basic process works before we move on to some form of automatic labeling.
Labels should go with the flow of your document in a certain process. An example process could be like this.
- You create a document.
- You apply the label “internal” which shows users that the document is not ready to be sent outside your organization.
- You work with internal colleagues on the document.
- The document is ready to be distributed outside your organization to be edited by external coworkers.
- You apply a new label “external”.
- You finish working on the document and publish it to it’s final destination. Depending on the process, you apply another label or remove the sensitivity label.
When looking at the implementation of sensitivity labels, there’s a certain learning curve that you must guide your users through. Because of this, I recommend to first introduce sensitivity labels to your organization without applying restrictions based on it to give your users a visual introduction that a sensitivity label is applied and learn how to work with them. After this, it’s possible to extend the labels functionality with content protection or some other restriction.
In short, this would be a great way to introduce sensitivity labels to your organization:
- Create sensitivity labels (less is more).
- Implement sensitivity labels and guide your users on how to apply and use them.
- Monitor your environment and keep educating your users
- Collect feedback from your users and use it to optimize labels.
- When labeling is well embedded in your organization, start restricting content based on your sensitivity labels.
Lastly, you should remember the following about sensitivity labels:
- Content can hold 1 sensitivity label, however it can be combined with a retention label.
- Sensitivity labels can be seen by members of your organization but are not visible to guests or users from other organizations.
Configuring Sensitivity Labels
Configuration of sensitivity labels that can be manually applied consists of steps:
- Create and configure your sensitivity label.
- Publish the label to end-users.
Create and configure your sensitivity label
To start, navigate to the Microsoft Purview portal and navigate to Information Protection, Labels.

Right away, we are greeted with 2 messages where number 1 is telling us to turn on the ability to process content in Office online files that have encrypted sensitivity labels applied and are stored in OneDrive and SharePoint. When you don’t use a multi-geo Microsoft 365 environment, you can safely enable the feature. Feature 2 however makes it possible to create sensitivity labels and access control settings for Teams, SharePoint sites and Microsoft 365 Groups. This is a feature that I will cover in a separate article so we can stick to the basics in this one.

Click “Create a label” in the “Labels” screen.
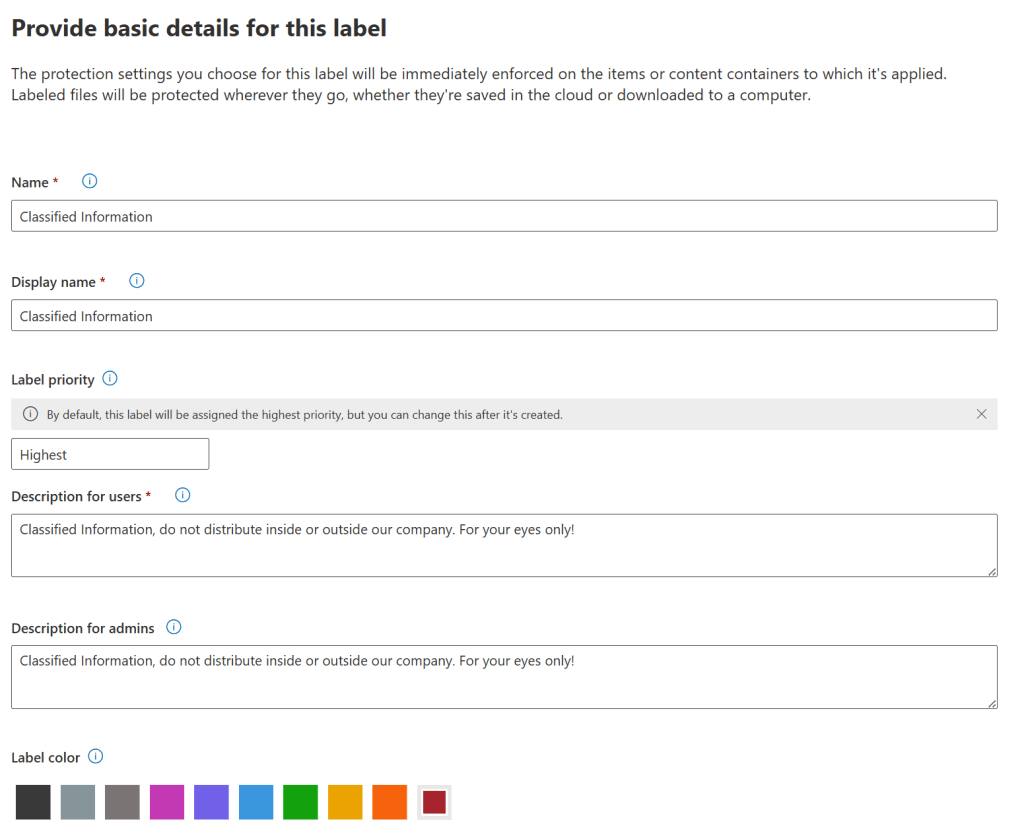
Here we can configure the basics of our label: it’s name, display name, priority, a description for users and administrators and a label color. They’re all quite basic, however we need to discuss the label priority. If you take a look back to the second screenshot of this article you’ll see that there are various sensitivy labels already present. They all have a priority set ranging from 0 to 5, where 5 is the highest priority (most restrictive) and 0 being the lowest (least restrictive). In an upcoming step in the label creation wizard, we’re able to set an option to make it mandatory for users to provide a justification when they lower the sensitivity label on an item. This is why you should think the prioritization of your labels through before going all-in on configuration mode 😉. You can change the priority of a label using the 3-dotted-menu next to a label to move it up or down.
This behavior however, doesn’t apply to sublabels. Sublabels are taken into account with automatic labeling, which is for another article.

On with configuration of our label. Here we set where we want our labels to be available. I’ve chosen for items, which are files, emails and meetings. Groups and sites is not yet possible because -as discussed at the beginning of this article- we have some configuration to do for this to be possible. Schematized data assets can be used to apply labels to files and schematized data assets in SQL, Azure SQL, Azure Synapse, Azure Cosmos, AWS RDS and more and hence, are out of scope for this article.
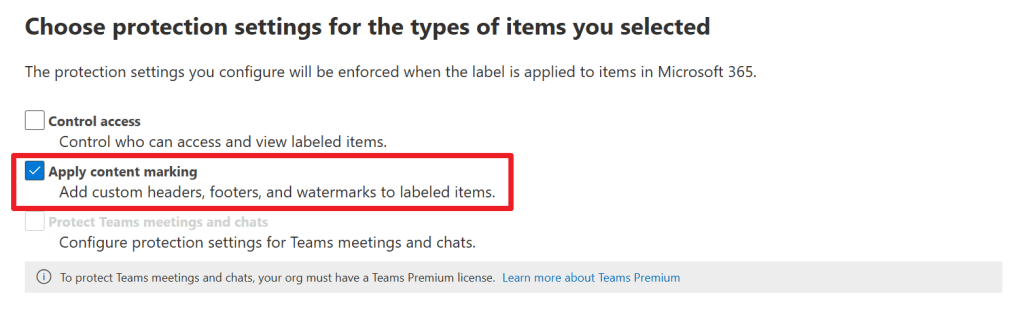
In the next screen, we can choose the protection settings we want, which can be “control access”, “apply content marking” or “protect teams meeting and chats”. Note that it isn’t mandatory to pick an option here. Sensitivity labels can easily be applied without having protection settings added to them, which will only show you the document has a sensitivity label applied showing it’s name and description. For this demo however I’d like to add a little bit of content marking so we can see what that looks like.
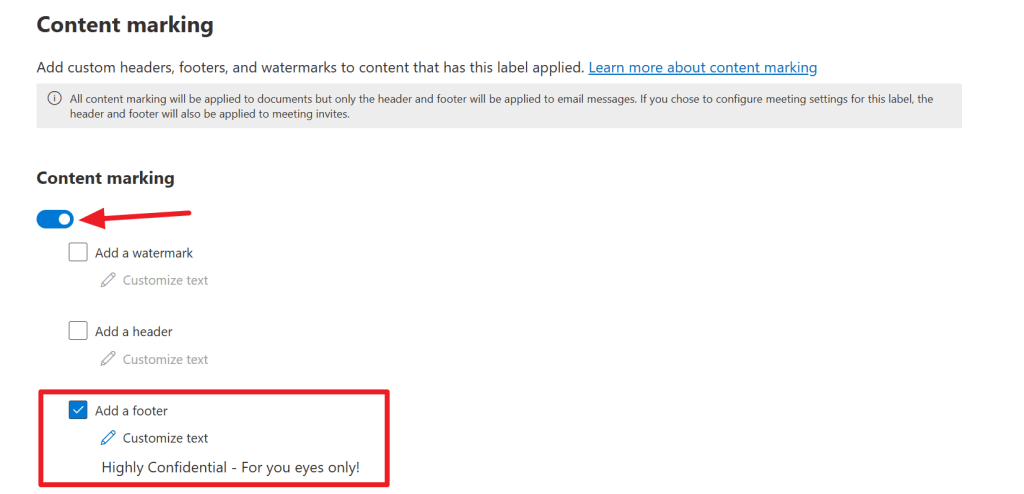
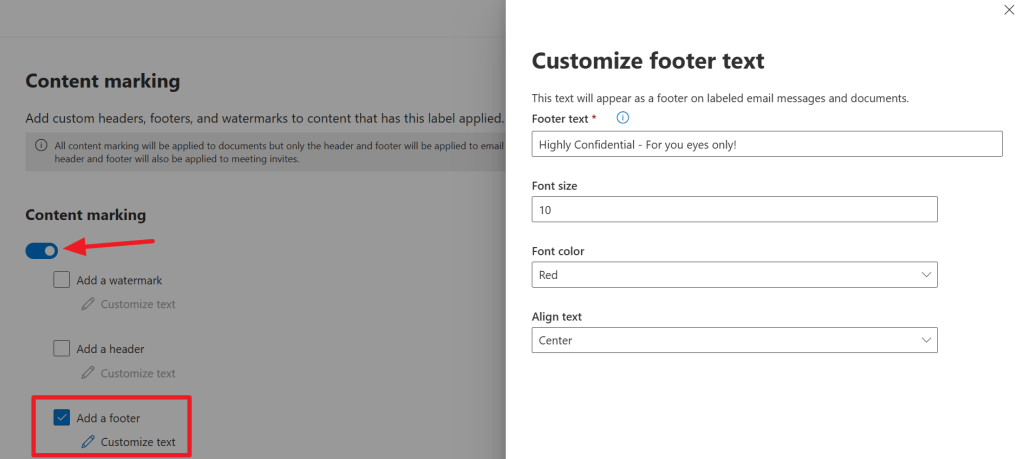
To be precise, I’ve chosen to add a footer, which can be displayed on documents, or email. Please note that a watermark will not be present on email messages, should you configure this.

In the next screen auto-labeling (or semi-auto labeling that can give users some recommendation to apply a label) can be configured for files and emails. We’ll keep this as is for now since we want to take a look at what manual labeling looks like.
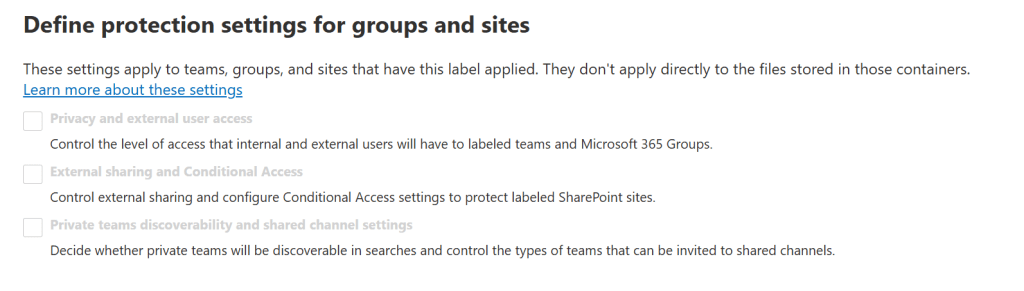
This next screen is of use when labeling for groups and sites is configured (remember action number 2 that popped up when opening the labeling console?). So, skip for now.
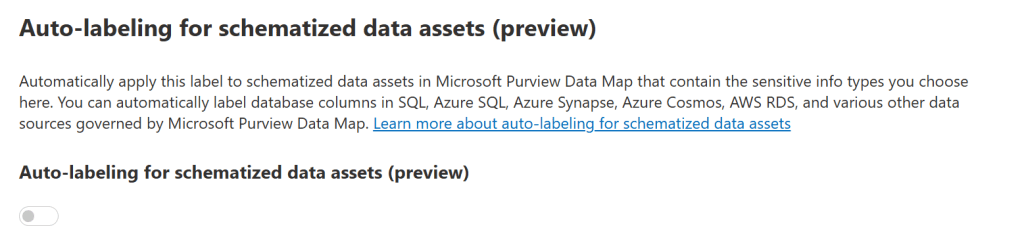
Last but not least, auto-labeling for schematized data assets can be enabled. As discussed, we’ll leave this out of scope for now. After this, check the settings displayed in the summary and click “create label” when you are satisfied with it’s contents.
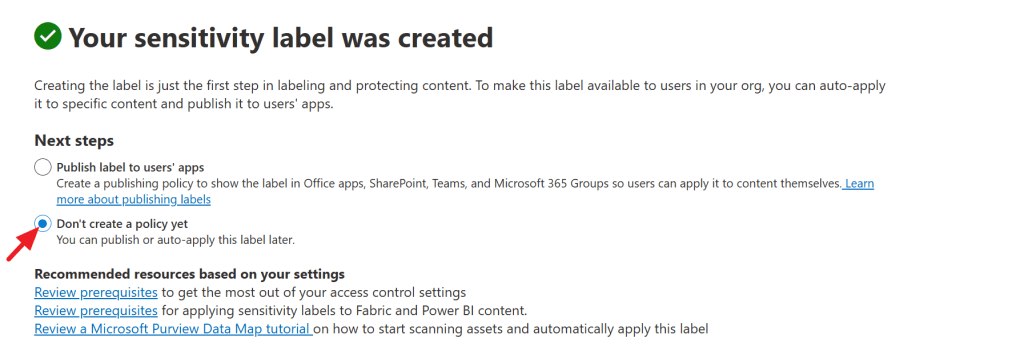
When your label is created, the wizard will ask you whether to publish the label to users’ apps or to do this later. To see all of the wizard pages, I’ve opted to not create a label policy yet.
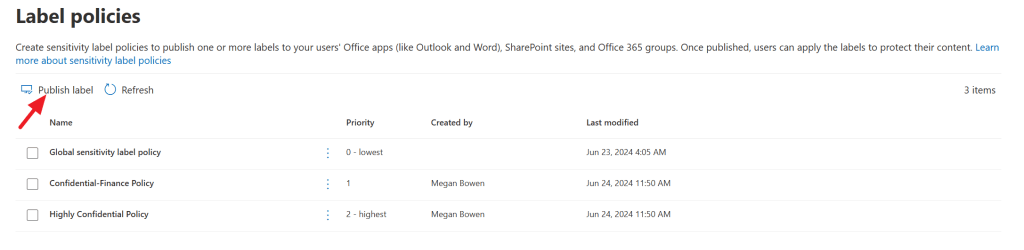
Instead, point your browser to Information Protection, Label Policies and click “publish label”.

In the first step of the wizard, select the label that we’ve just created. In my case, it’s the “Classified Information” label. We’ll skip the admin units screen for now and continue to the next screen.

Here, we can select the users and groups we want the label to be available for. In my case I select “all users and groups”. You can however, narrow this down if you’ll want.
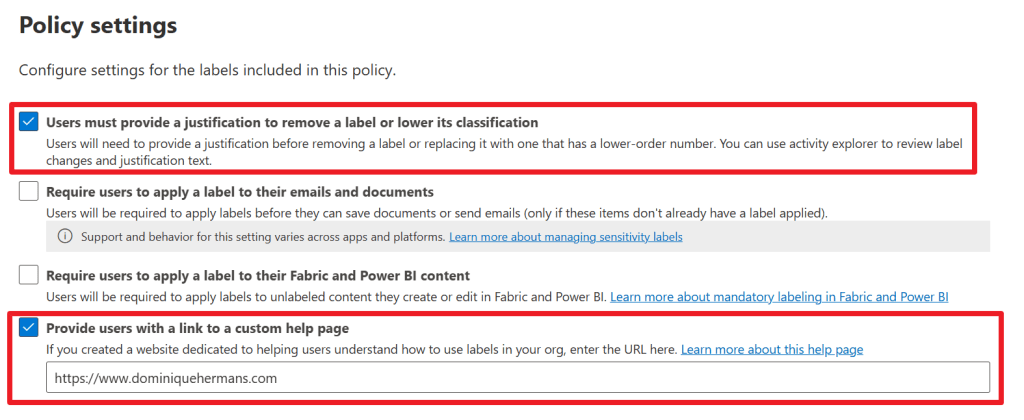
Now an interesting part. In this next screen we can make sure users have to provide a justification when they remove a label or lower it’s classification (which we talked about earlier in this article). This I’ll select. It’s also possible to require users to apply a label to their emails, documents or Fabric and Power BI content. This I will not select for this demo because not each item will have to have a sensitivity label in my case. Lastly, we can provide users with a link to a custom help page, which I configured as this blog so you’ll get the idea. Ideally you’ll provide users to a place on your intranet for example where you guide them through the process of labeling items with a set of best practices that are present for your company.
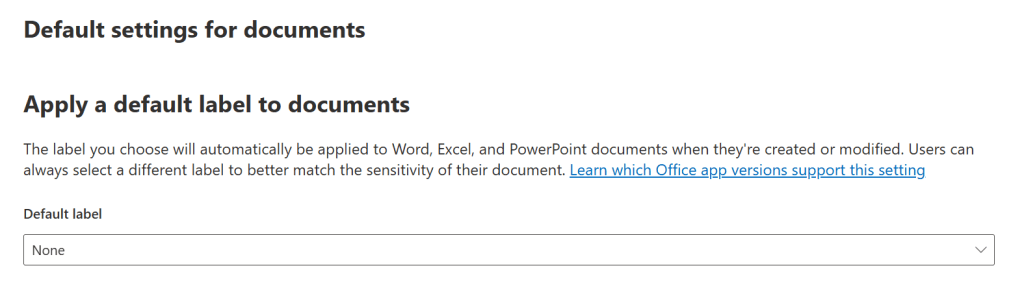
In this next screen another important choice should be made. Will you automatically apply a default sensitivity label to (Word, Excel and PowerPoint) documents when they’re created or modified or do you want your items to be “label less” by default? I opt for the latter in this demo.
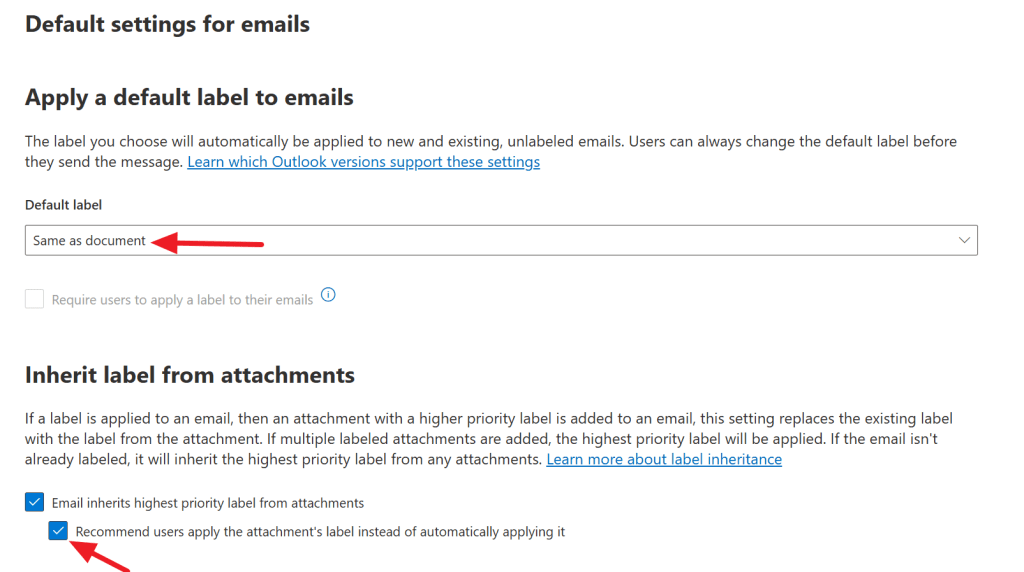
Next, a default label can be selected for emails if you want. Also, you can configure whether an email message inherits the highest priority label from the attachments it contains (handy stuff!) and whether you want to give users a recommendation to apply the labels to the email message or to automatically apply it. I choose to give the user a recommendation to label the email message with the highest priority label of it’s attachments.
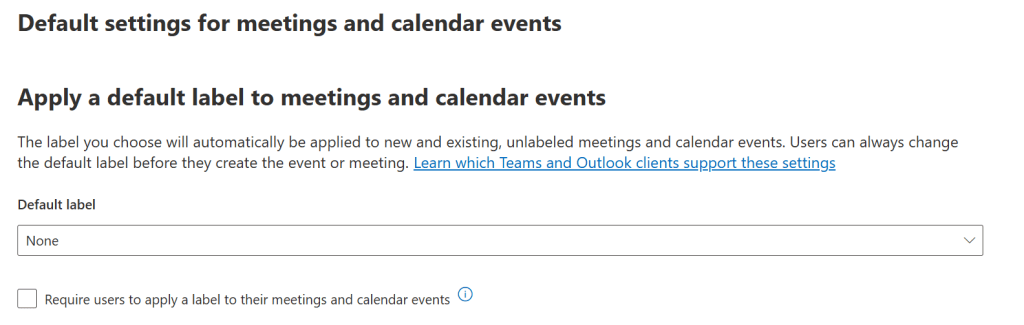
Another default action to be considered is up next. Do you want to apply a default label to meetings and calendar events? I don’t in my case but think this through for your environment. Another screen appears to select a default label for Fabric and Power BI content which we’ll won’t use in this demo.
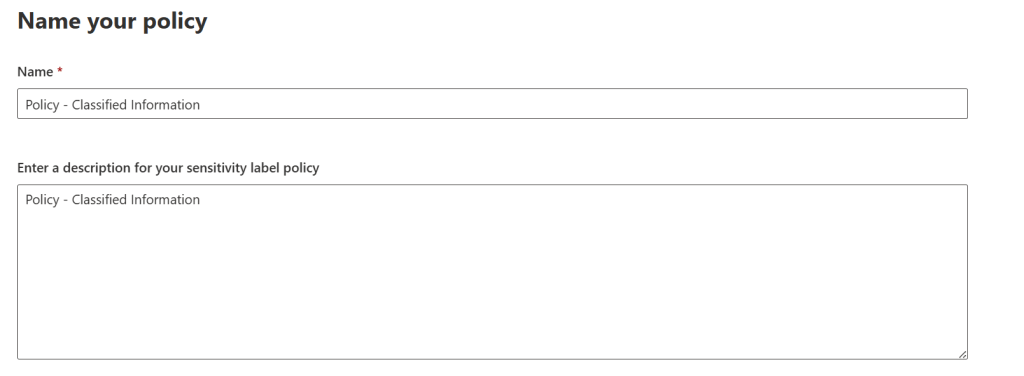
Next, name your policy, review the summary and “submit” when you’re happy with the results it shows!
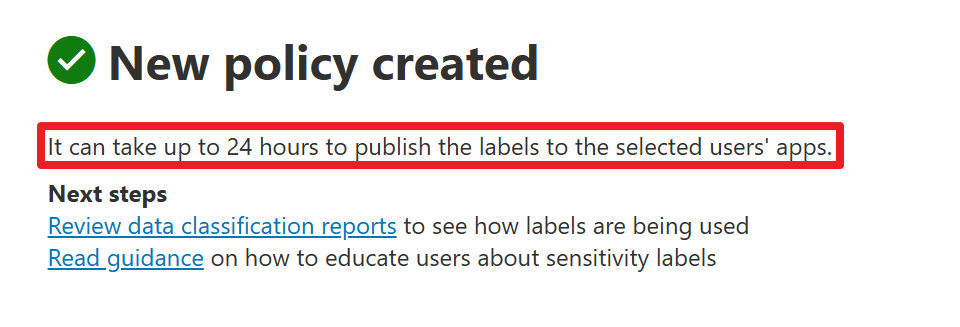
Do take note of the message stating that it can take up to 24 hours to publish the labels to the selected users’ apps.
The view from the user
Files
Now that configuration of our sensitivity label is done and 24 hours have passed, let’s take a look at the user side of things.
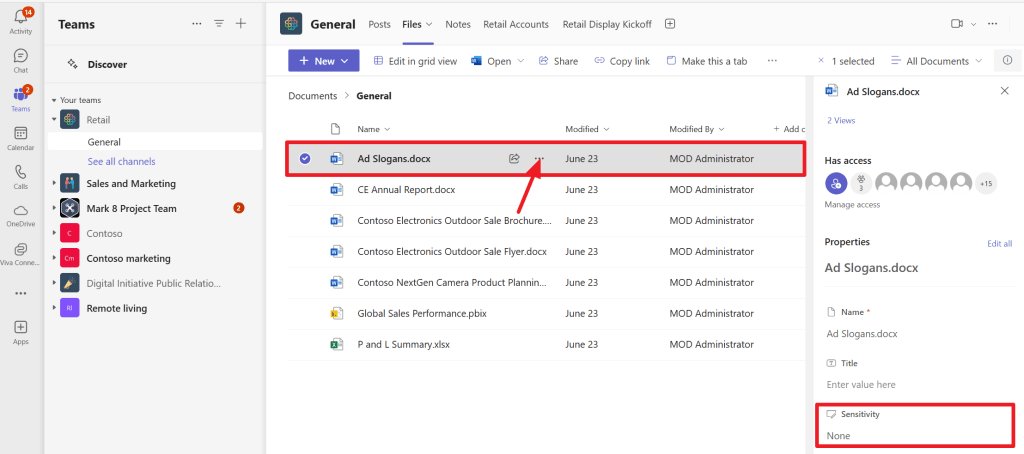
In this screen I’ve opened Teams as a user in my tenant and navigated to the team that holds a document called “Ad Slogans.docx”. When you press the 3-dotted menu to the right and select “details” you immediately see that at this point, there is no sensitivity label applied.
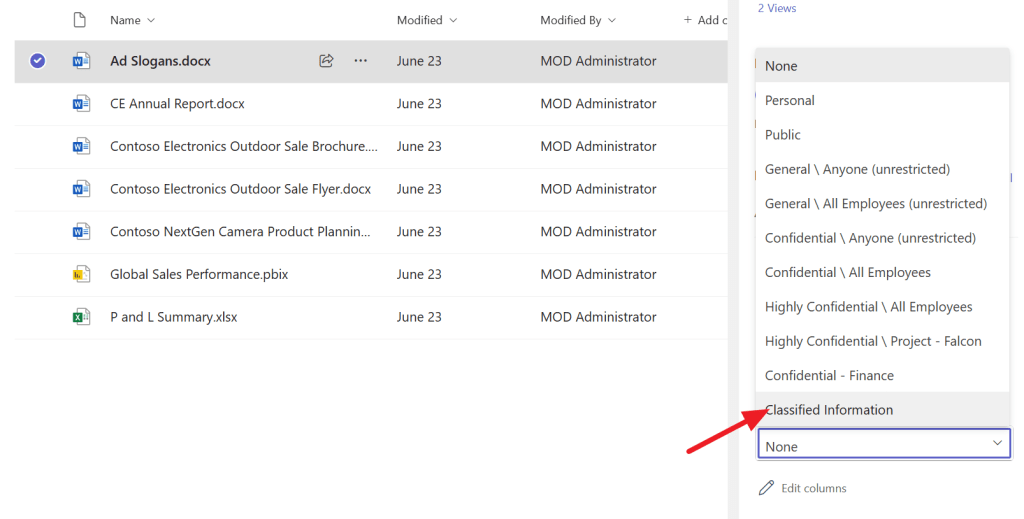
It’s possible to add a sensitivity label to the document from here, but let’s open the document and check out the view from Word Online.
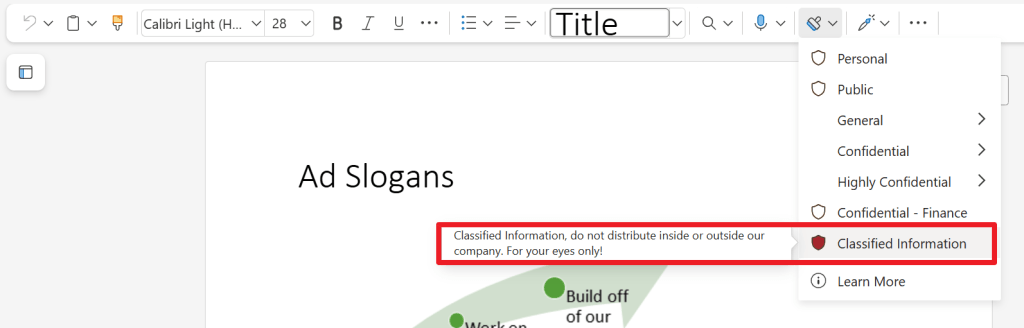
When we open the document in Word (Online in my case, however the desktop app responds just the same), you will see a “stamp” icon that can be used to stamp a sensitivity label to the document. In my case there are several, and amongst them is the “classified information” label we created earlier. Notice the red color we selected and when we hover over it, the description for the user is shown. Let’s click it to apply the label to the file.
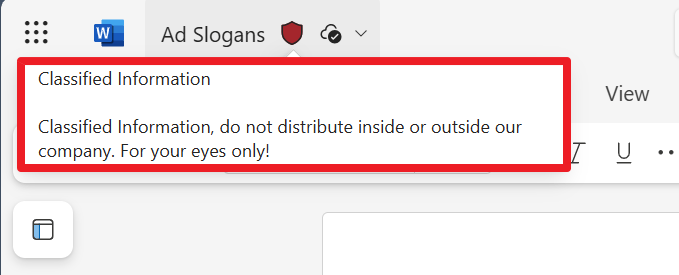
When the label is applied (or stamped if you will), the top bar immediately shows the updated sensitivity information (in red, like we selected) and here also the description for the user is shown. Great!
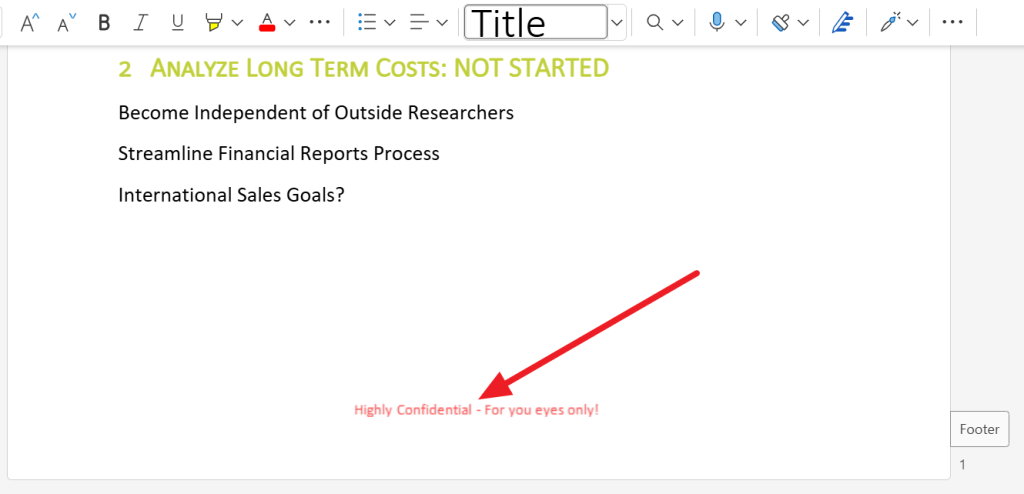
Remember we configured the label to show content marking in the form of a footer? Here you go, that’s also present!
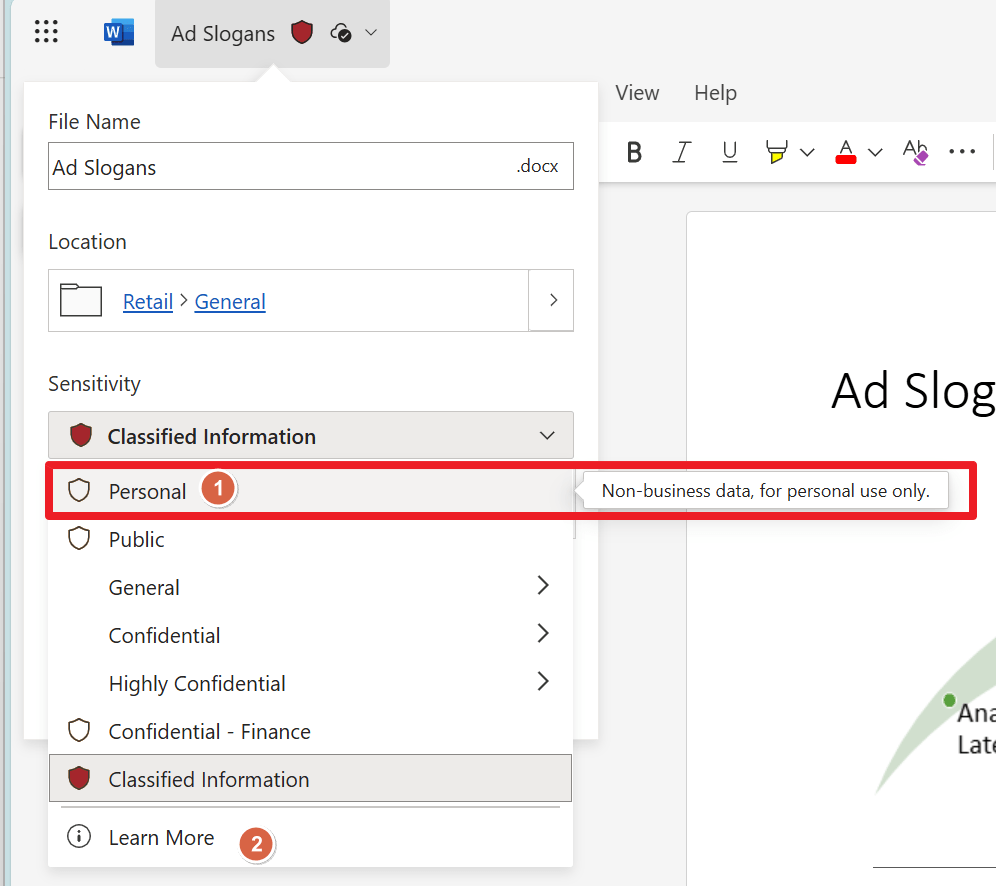
When you click the sensitivity label on the top left, you can click the “Learn More” (2) link. This will guide you to the page that you set up to give your users more information on your labeling process (in this demo, I configured it to navigate to this blog).
When we want to lower the sensitivity to -for example- the “personal” sensitivity label, the following message appears:
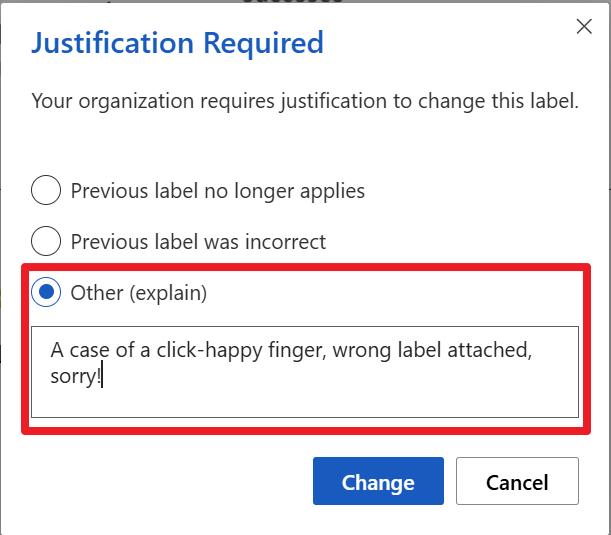
Remember we configured the option to require users to justify their action if they lower the documents sensitivity? That’s the setting that shows you this dialog box.
Emails

When drafting an email and configuring it with our label by clicking on the button on the top right, we can see immediately that our label is stamped on the email, but the configured markup (footer) is not shown. This is because it’s applied after the message is being sent, and can be seen when the message has been the delivered to the recipient:
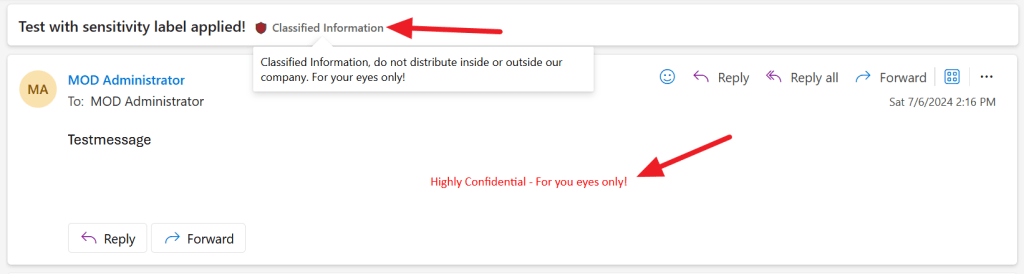
When the message is delivered, the footer is attached and the sensitivity label of course remains on the email message.
Meetings

The fact that markup is not applied on email also goes for meetings. After stamping the meeting with a sensitivity label and sending it out, the recipient does have the markup attached to the message and meeting details:

There you have it! As a closing note, always take a look at the “Minimum versions for sensitivity labels in Office apps” document on Microsoft Learn to check whether your required behavior is supported by the app you are using. As an example, Outlook for the Web does not support the option to inherit an attachments sensitivity label and apply it to your email message.
In conclusion
- You can think of a sensitivity label as a stamp, that you “stamp” onto documents to give it a certain level of “sensitivity”. The higher the number, the higher the sensitivity.
- It teaches your users to think about with who to share documents that have a certain sensitivity.
- The label travels with your documents.
- You can attach logic to sensitivity labels. Examples of this logic is adding watermarks or protecting content from being openend by unauthorized people.
- Create a sensitivity label to provide a name, priority, description for users and admins, color, scope and protection settings for your label.
- Create a label policy to publish your label, provide additional settings like the fact that users should provide a justification to remove or lower a labels classification, require users to apply labels in certain locations or to provide users with a link to a custom help page. You can also use the policy to apply a default label to documents, emails, meeting and calendar events and whether attachments in an email should dictate the label of the email.
Did you make it till the end? Then now you can call yourself an expert on configuring sensitivity labels!

9 thoughts on “Microsoft Purview 101: How To Implement Sensitivity Labels”