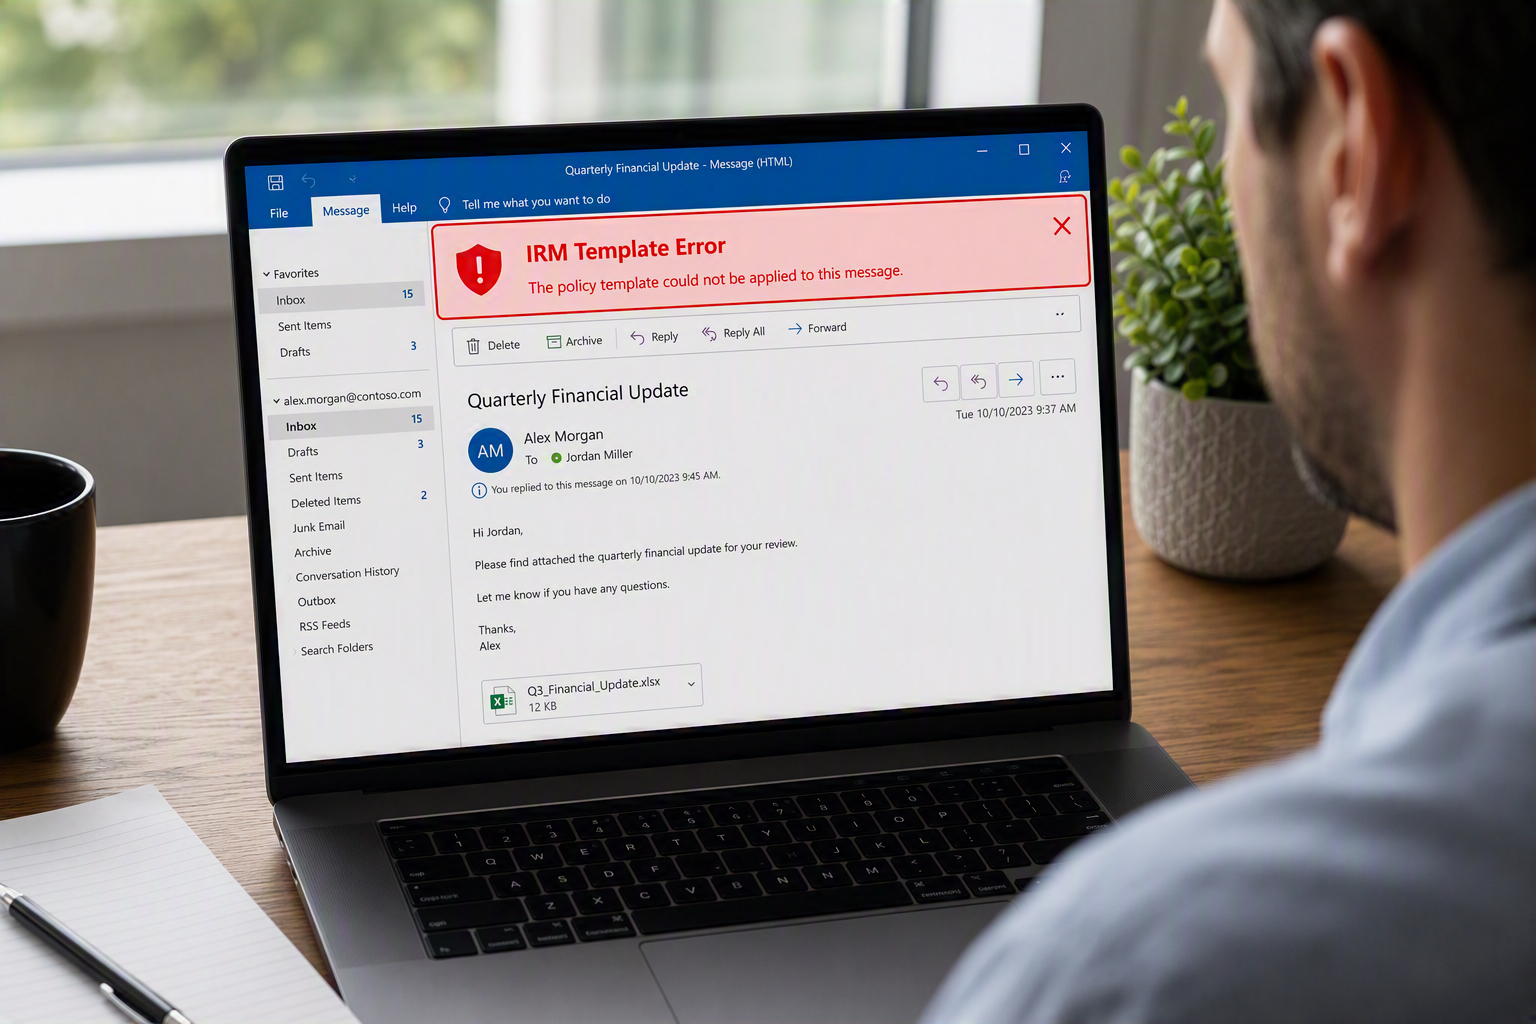
Rights Management Template errors are frustrating to come across when you are deploying sensitivity labels. The following errors are most common:
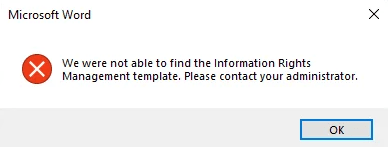
- We were not able to find the Information Rights Management template. Please contact your administrator.
- De Information Rights Management-sjabloon kan niet worden gevonden. Neem contact op met de beheer. (Dutch).
- Failed to get Information Rights Management Template
- Failed to acquire RMS templates
This article explains the role of the Rights Management Service in a sensitivity label deployment and outlines several methods for resolving related errors.
First, some terminology
Let’s start with Azure Rights Management Service (Azure RMS). Think of it as the engine behind encryption: it’s the underlying technology that protects information whenever a sensitivity label with encryption is applied.
Azure RMS handles the actual cryptographic work: encrypting content, issuing usage licenses, and enforcing the rights attached to protected content. In practice, this means it can stop recipients from forwarding or printing a document, or automatically expire access to it after a set period of time.
Azure Information Protection (AIP) was the client and management layer built on top of Azure RMS. The labeling client has since been folded into the Microsoft 365 (Office) apps, giving users a unified experience, so a separate AIP client is no longer necessary. The management layer has likewise been migrated into Microsoft 365 sensitivity labels. One holdout remains, though: the AIP PowerShell module is (unfortunately) still needed for troubleshooting, which we will see in the upcoming section.
Another term you might come across is Information Rights Management (IRM). IRM is largely legacy terminology for protection controls built into services like Exchange Online or SharePoint Online. This older technology dates back to the days of on-premises Active Directory Rights Management Services (AD RMS). Most environments today apply protection through Purview sensitivity labels instead of relying on IRM to contact the AIP (or AD RMS) service.
Since you’re now up to speed on terminology, let’s continue with troubleshooting!
Setting up our tools of the trade
We will troubleshoot using the ExchangeOnlineManagement and AIPService PowerShell Modules. Install them both using the following cmdlets. I recommend using at least PowerShell 7.5 to ensure everything is running smoothly:
Install-Module ExchangeOnlineManagement, AIPService
Do note that the ‘AIPService’ PowerShell Module does not work on ARM-based devices, so you will need to use a device that runs on the x86 architecture.
Troubleshooting Time
Let’s take this from the top, so we don’t waste time on troubleshooting steps that turn out to be unnecessary. I always like to rule out major issues first, before I continue to the more fine-grained stuff. Below troubleshooting steps work best if you work through them from top to bottom.
As always, test any changes in a non-production environment first.
General troubleshooting steps
Verify that Azure RMS is enabled
Let’s verify that Azure RMS has actually been enabled in your tenant. In most (if not all) tenants this will automatically be the case. You can check whether it’s enabled with the following PowerShell cmdlet:
Import-Module AIPService
Connect-AipService
Get-AipService
If the output says ‘enabled’, you’re good to go. A status of disabled means the Azure Rights Management service is not yet enabled. You can try running ‘Enable-AIPService’ to start the service.
Use the sensitivity label support assistant to get more information
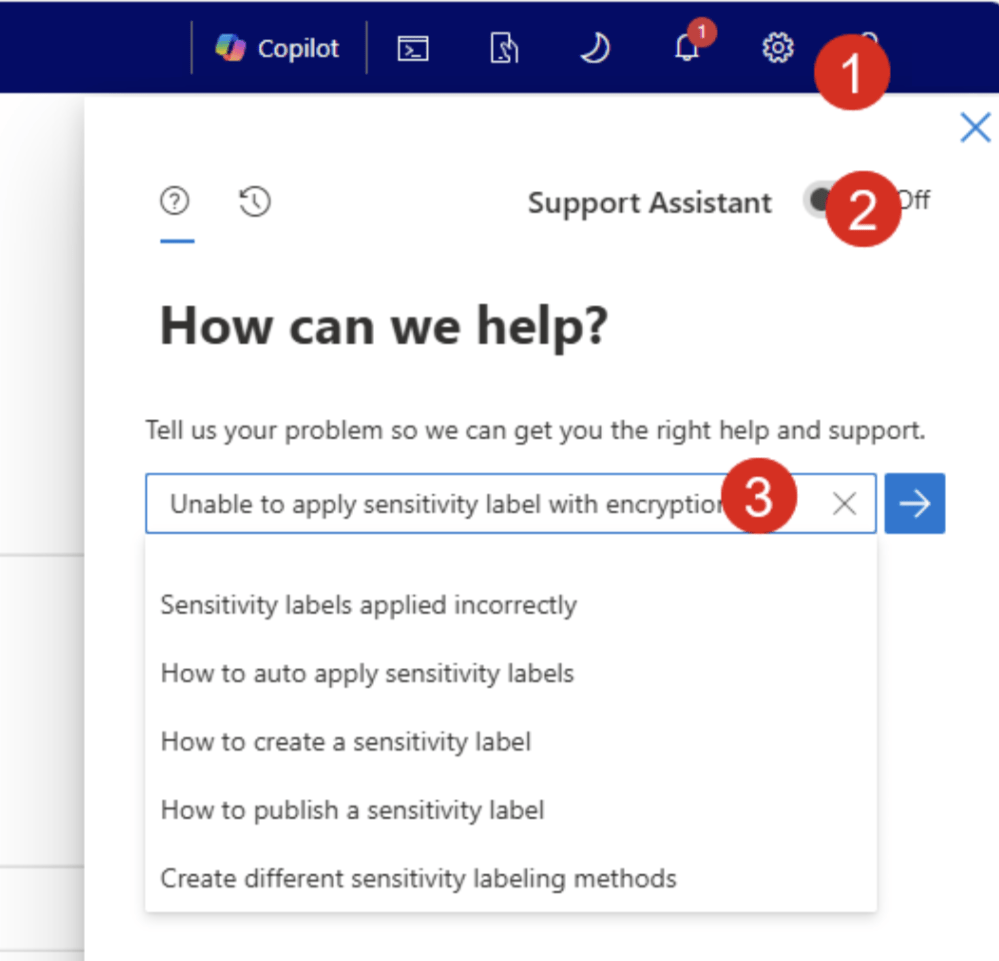
The Microsoft 365 admin portal actually has a sensitivity label diagnostic tool that can help you further investigate your issue. Run it as follows:
- Navigate to Service Health in the M365 Admin center
- Click the questionmark in the upper right hand corner
- Disable the support assistant
- Type: “Unable to apply sensitivity label with encryption”
- Click the arrow
- Fill in the requested information and click “Run Tests”
You can use this information to discover your troubleshooting path.
Verify whether it’s a user or client issue
This may sound like a simple troubleshooting step, but it can point you in the right direction early in the process. Try various combinations of user and client logins to figure out whether the issue is limited to specific clients, specific users, or both. This will help you narrow down the root cause faster.
Verify functionality in Office Online Apps
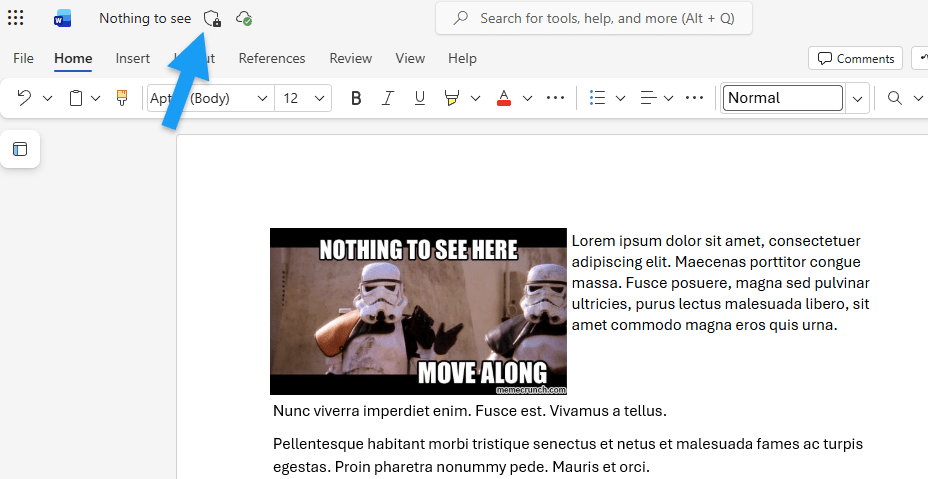
To check whether the issue is related to service-side configuration errors or client-side configuration errors, log into one of your Office Online Apps. In this example I use Word Online. In Word Online, draft a new document and apply a sensitivity label that should apply protection. If all goes well, your Azure RMS configuration is probably OK and you should target your next troubleshooting step at client or user issues. Do however, take a look at the troubleshooting step for dynamic security groups.
Verify whether you’re using dynamic security groups to distribute labels
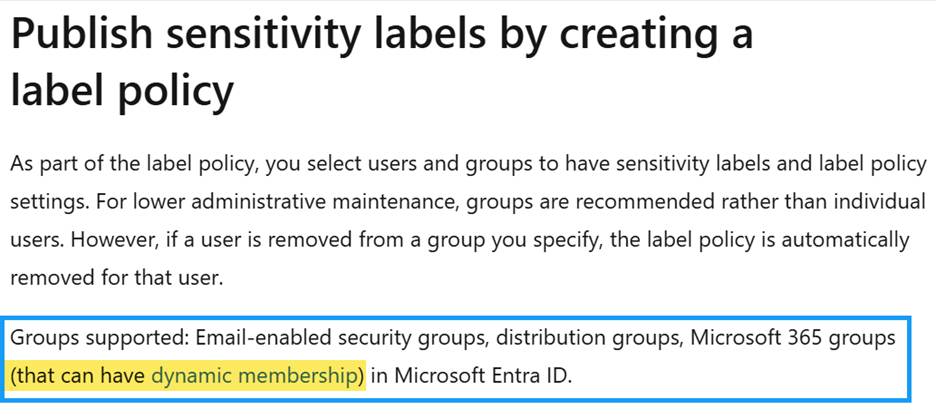
While according to Microsoft Learn, using dynamic groups in a label policy are supported for distributing labels to users, my experience differs in this situation. I actually had an occasion or two where using groups with dynamic membership actually triggered the “We were not able to find the Information Rights Management template. Please contact your administrator.” error in Outlook.
You can easily test whether this is the problem at hand by adding a specific user (that is not part of the dynamic group) to the label policy, and test after the changes have been propagated. At time of writing, unfortunately I do not have an alternative for this issue (besides scripting, but I’d rather stay away from that approach as it has to be maintained). I will update this post if a better solution or fix becomes available.
Check licensing requirements
Information Protection is a licensed feature in Microsoft Purview. Check your users current licenses and cross-reference them with the latest information in the Microsoft Purview Information Protection sensitivity labeling section on Microsoft Learn.
Verify there’s no AipServiceOnboardingControlPolicy in use
Set/Get-AipServiceOnboardingControlPolicy is an AIPService PowerShell cmdlet used to control a gradual rollout of Azure Information Protection (Azure RMS) in a tenant, it lets you restrict, at the tenant level, which users are actually allowed to protect content with Azure Rights Management, independent of who has an AIP/RMS license or a sensitivity label policy applied to them.
As you might imagine, this can cause conflicts if the onboarding control policy is enabled but doesn’t include users you’ve already added to your sensitivity label roll-out. You can check whether it’s enabled as follows using PowerShell:
Import-Module AIPService
Connect-AipService
Get-AipServiceOnboardingControlPolicy | FL
- If the ‘UseRMSUserLicense’ parameter is set to $true, only users who are correctly licensed for the Azure Rights Management service can protect content.
- If the ‘UseRMSUserLicense’ parameter is set to $false, and the ‘SecurityGroupObjectId’ holds a value, only members of the specified group can protect content. Everyone else is blocked.
To lift the restriction you can run:
Set-AipServiceOnboardingControlPolicy -UseRmsUserLicense $False -SecurityGroupObjectId $null
Exchange Online troubleshooting steps
Verify the connection between Exchange Online and Azure RMS
Next, let’s verify the current Microsoft Exchange Online configuration using Exchange Online PowerShell (and yes, there you go, the (almost legacy) IRM component). Be sure to use email addresses that are both available in your tenant:
Connect-ExchangeOnline
Test-IRMConfiguration -Sender userA@yourdomain.com -Recipient userB@yourdomain.com
Your results should look like this:
Results : Acquiring RMS Templates ...
           - PASS: RMS Templates acquired.  Templates available: Encrypt, Do Not Forward.
       Verifying encryption ...
           - PASS: Encryption verified successfully.
       Verifying decryption ...
           - PASS: Decryption verified successfully.
       Verifying IRM is enabled ...
           - PASS: IRM verified successfully.

       OVERALL RESULT: PASS
First, be sure that there’s always at least 1 ‘encrypt’ template available.
If the cmdlet fails with error message ‘failed to acquire RMS templates’, run the following troubleshooting steps:
$RMSConfig = Get-AipServiceConfiguration
$LicenseUri = $RMSConfig.LicensingIntranetDistributionPointUrl
Set-IRMConfiguration -LicensingLocation $LicenseUri
Set-IRMConfiguration -InternalLicensingEnabled $true
The above cmdlets retrieve the ‘LicensingIntranetDistributionPointURL’ from the AIP service configuration and store it in the LicensingLocation parameter from the IRM configuration of Exchange Online. Setting ‘InternalLicensingEnabled’ to true configures Exchange Online to enable IRM features for messages sent to internal and external recipients.
Naming this parameter “INTERNALLicensingEnabled” may sound a bit odd, but the name has its roots in on-premises Exchange, where the parameter only enables IRM features for messages sent to internal recipients. For the sake of clarity, it would be nice if this parameter were renamed to something less ambiguous.
If you want to learn more on this troubleshooting step, be sure to check out the following section on Microsoft Learn.
Verify whether AzureRMSLicensingEnabled is set to True
Exchange Online checks the ‘AzureRMSLicensingEnabled’ parameter to determine whether it’s allowed to communicate with Azure RMS. It’s set to true by default, but you can verify this with the following cmdlets:
Get-IRMConfiguration | FL
You can enable it when disabled with the following cmdlet:
Set-IRMConfiguration -AzureRMSLicensingEnabled $true
Client troubleshooting steps
Verify connection to the Purview service from the client
Make sure the client is able to connect to the Microsoft Purview cloud service. You can do so by using the following PowerShell cmdlets from the client that has issues:
$request = [System.Net.HttpWebRequest]::Create("https://admin.na.aadrm.com/admin/admin.svc")
$request.GetResponse()
$request.ServicePoint.Certificate.Issuer
If the statuscode returns “OK” twice and the Certificate Issuer is succesfully shown, you’re good to go connection-wise. If your client is not able to connect to the Purview cloud service, contact your network administrator to help you troubleshoot.
Verify your Microsoft 365 (Office) version
Verify you have the latest Microsoft 365 (Office) version installed. You can verify your currently installed version by starting an Office app, navigate to File, Account, About (App Name). It then shows the exact installed version/build.
While in general it’s always best to update to the latest version available, you can take a look at Microsoft Learn for the minimum Office application versions required for sensitivity label capabilities:
Verify that the AIP Unified Labeling Add-In or AIP Unified Labeling Client is NOT installed
Verify that no remains of the (deprecated) Azure Information Protection (AIP) Unified Labeling add-in or client are still present on the machine. Check the installed programs list, the Office add-ins (COM add-ins) in Word, Excel, Outlook, and PowerPoint, and remove them if found.
Verify whether removing Microsoft Office cache solves the problem
Clients cache the connection to the Azure Rights Management Service (Azure RMS) to prevent the client from having to discover the URL’s every time they need them. This is done using the following registry keys:
- DefaultServer: Holds the cluster name Office has cached as the one to use for licensing requests.
- DefaultServerURL: Holds the actual discovery URL for that server (ending with .aadrm.com) that Office uses to acquire rights management licenses and templates.
You can find the keys in the registry under:
- HKEY_CURRENT_USER\Software\Microsoft\Office\16.0\Common\DRM
- HKEY_CURRENT_USER\Software\Classes\Local Settings\Software\Microsoft\MSIPC
Accompanying files can be found in the following local location:
%LOCALAPPDATA%\Microsoft\MSIPC (Holds certificates, licenses and templates issued by the server that can be found in above registry keys).
Clear both keys and folders and restart the client to force Microsoft Office to perform a new discovery run. Remember to test this in a non-production environment first.
Last but not least: Contact Microsoft Support
When you’ve gone through the trouble of gaining all information in above troubleshooting steps and sensitivity labels with encryption still give you one of the dreaded errors, contact Microsoft Support using the Microsoft 365 admin center. Be sure to include all the information you gathered using the above tips and tricks. It will help you connect with the right support engineer and gives you a head start as you can provide them with a lot of information from the get-go.
If you want, you can also drop me a line using the comments below. I’m always glad to help.


